Organization Journal
The Calm Home Reset
A thoughtful room-by-room guide to creating storage systems that feel natural, look refined and remain practical through everyday life.

Organization works best when it follows the way your home is actually used.
A calm home does not begin with more containers. It begins with understanding what belongs in each space, how often it is reached for and what kind of storage makes that action simpler. The most successful systems are visible enough to guide you, flexible enough to adapt and restrained enough to keep the room feeling open.
Start with one daily friction point rather than an entire house. A crowded utensil drawer, an overfilled pantry shelf or an entryway without a landing place can each become a clear, manageable project. Measure first, group like items together and choose organizers that support the routine already happening there.
A place for everything feels calm only when everything can be returned without effort.
Build a system that is easy to see, easy to reach and easy to restore.
These principles keep an organizing project grounded in real use instead of turning it into a short-lived styling exercise.
Edit before you contain.
Remove duplicates, relocate items that belong elsewhere and identify what is used weekly, seasonally or rarely before selecting storage.
Reduce firstAssign each zone a clear purpose.
Keep categories together and place frequently used items between waist and eye level. Reserve harder-to-reach areas for lighter or less-used belongings.
Plan by frequencyLeave room for the system to breathe.
A small amount of open capacity makes it easier to return items, notice what is running low and adjust the arrangement as routines change.
Protect open space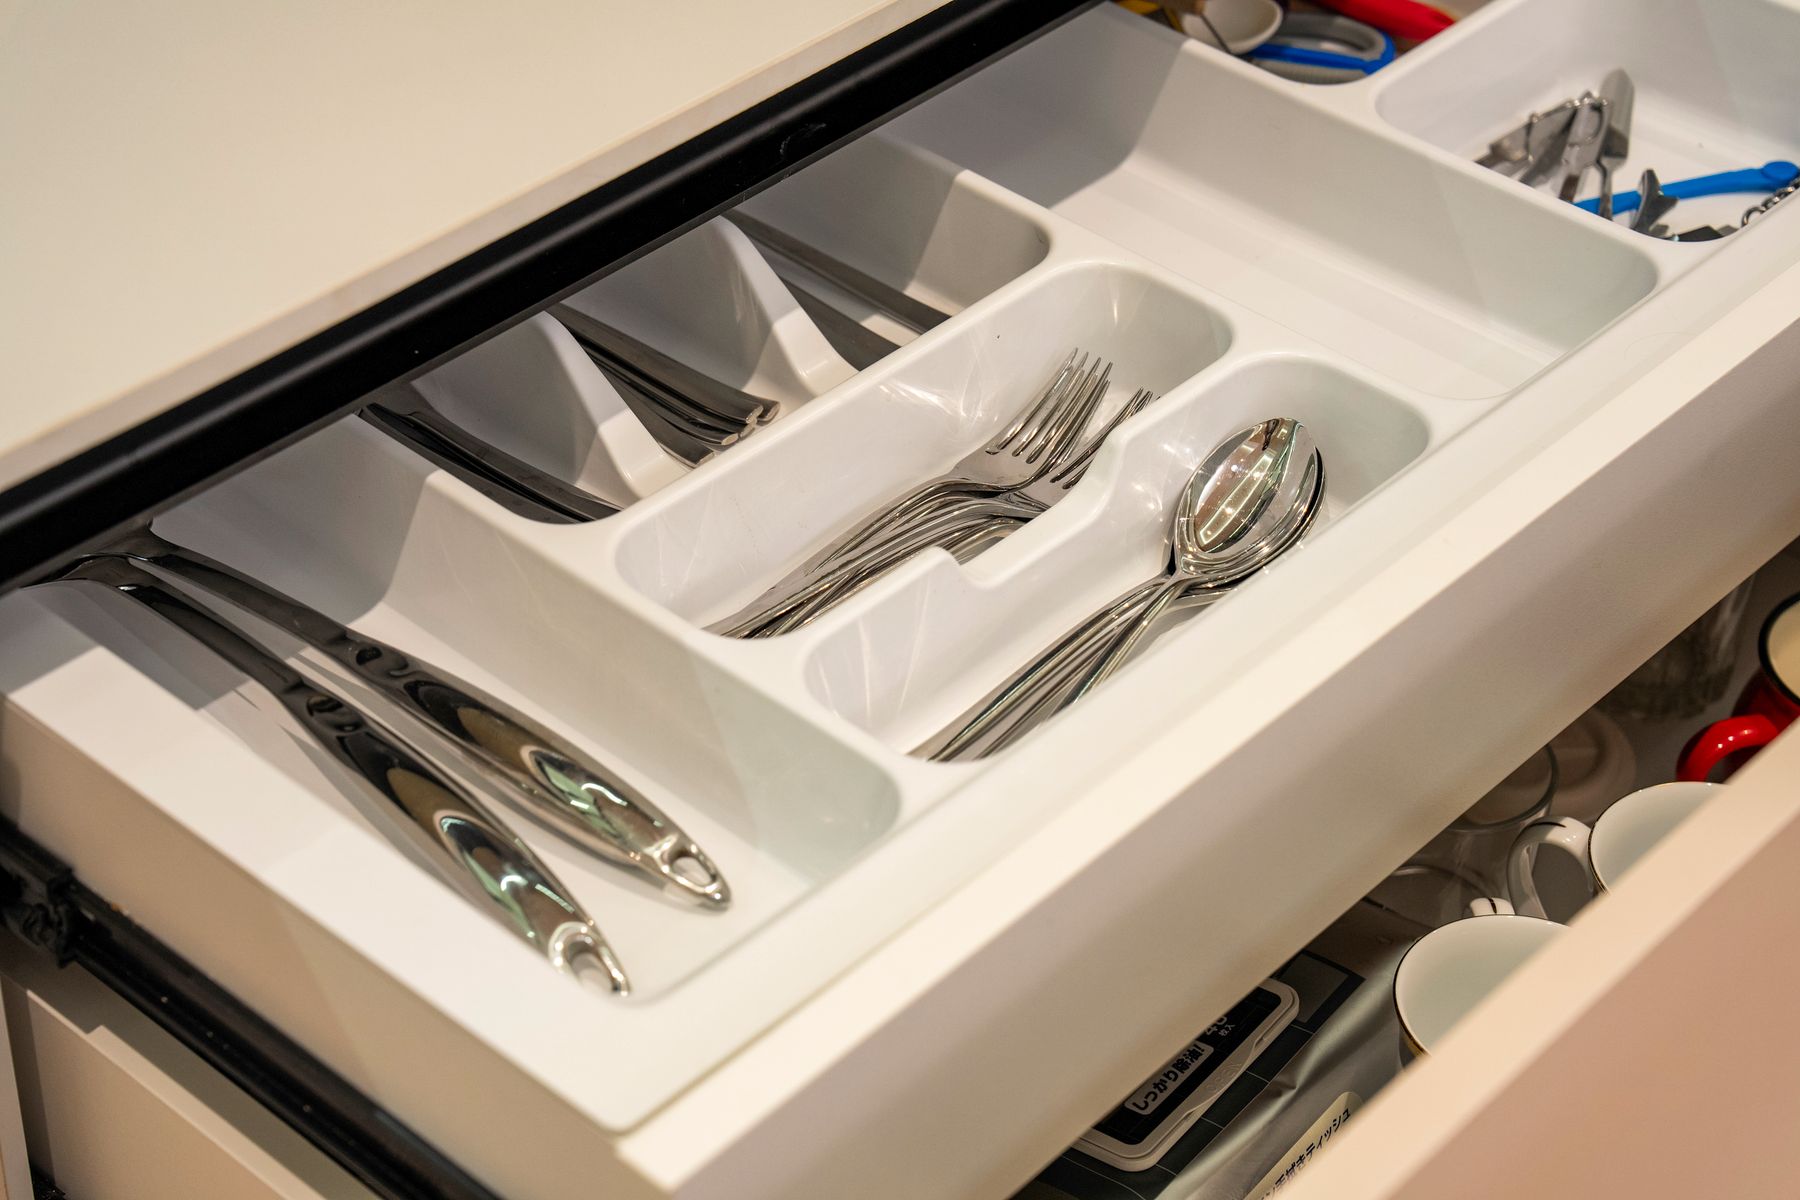
Let the contents determine the divider layout.
Drawer organization is most effective when every compartment reflects an actual category. Measure the interior at its narrowest points, note hinges or curved corners and plan for the tallest item before choosing inserts.
- 1 Empty and clean the full drawer.Seeing the complete footprint makes hidden space and awkward edges easier to evaluate.
- 2 Group by action, not appearance.Keep preparation tools, serving tools and everyday cutlery in separate functional zones.
- 3 Test the arrangement before filling every gap.Open and close the drawer several times and confirm that the most-used pieces are effortless to reach.
Begin where a small change can improve the whole day.
Each room needs a different balance of visibility, access and containment. Use the prompts below to shape a system around the activity in the space.
Closet
Use shelf dividers to preserve folded stacks, enclosed bins for seasonal pieces and a dedicated lower zone for shoes or everyday accessories.
Focus: vertical spacePantry
Group ingredients by meal or use, keep open packets contained and label only where the label improves recognition rather than adding visual noise.
Focus: visibilityBathroom
Separate daily care from backups, use washable organizers inside drawers and keep under-sink storage clear of plumbing and cleaning access.
Focus: easy cleaningLaundry
Define a clear path for sorting, washing, folding and returning items. Baskets work best when each one has a single, obvious role.
Focus: sequenceUse a simple edit to reveal what the space needs.
This short reset is designed for one shelf, drawer or cabinet. Keep the area small enough to complete in one sitting.
- Remove everything and wipe the surface clean.
- Return only the items that belong in this exact zone.
- Group the remaining contents by use or frequency.
- Measure the available width, depth and height.
- Add containers only where they clarify a category.
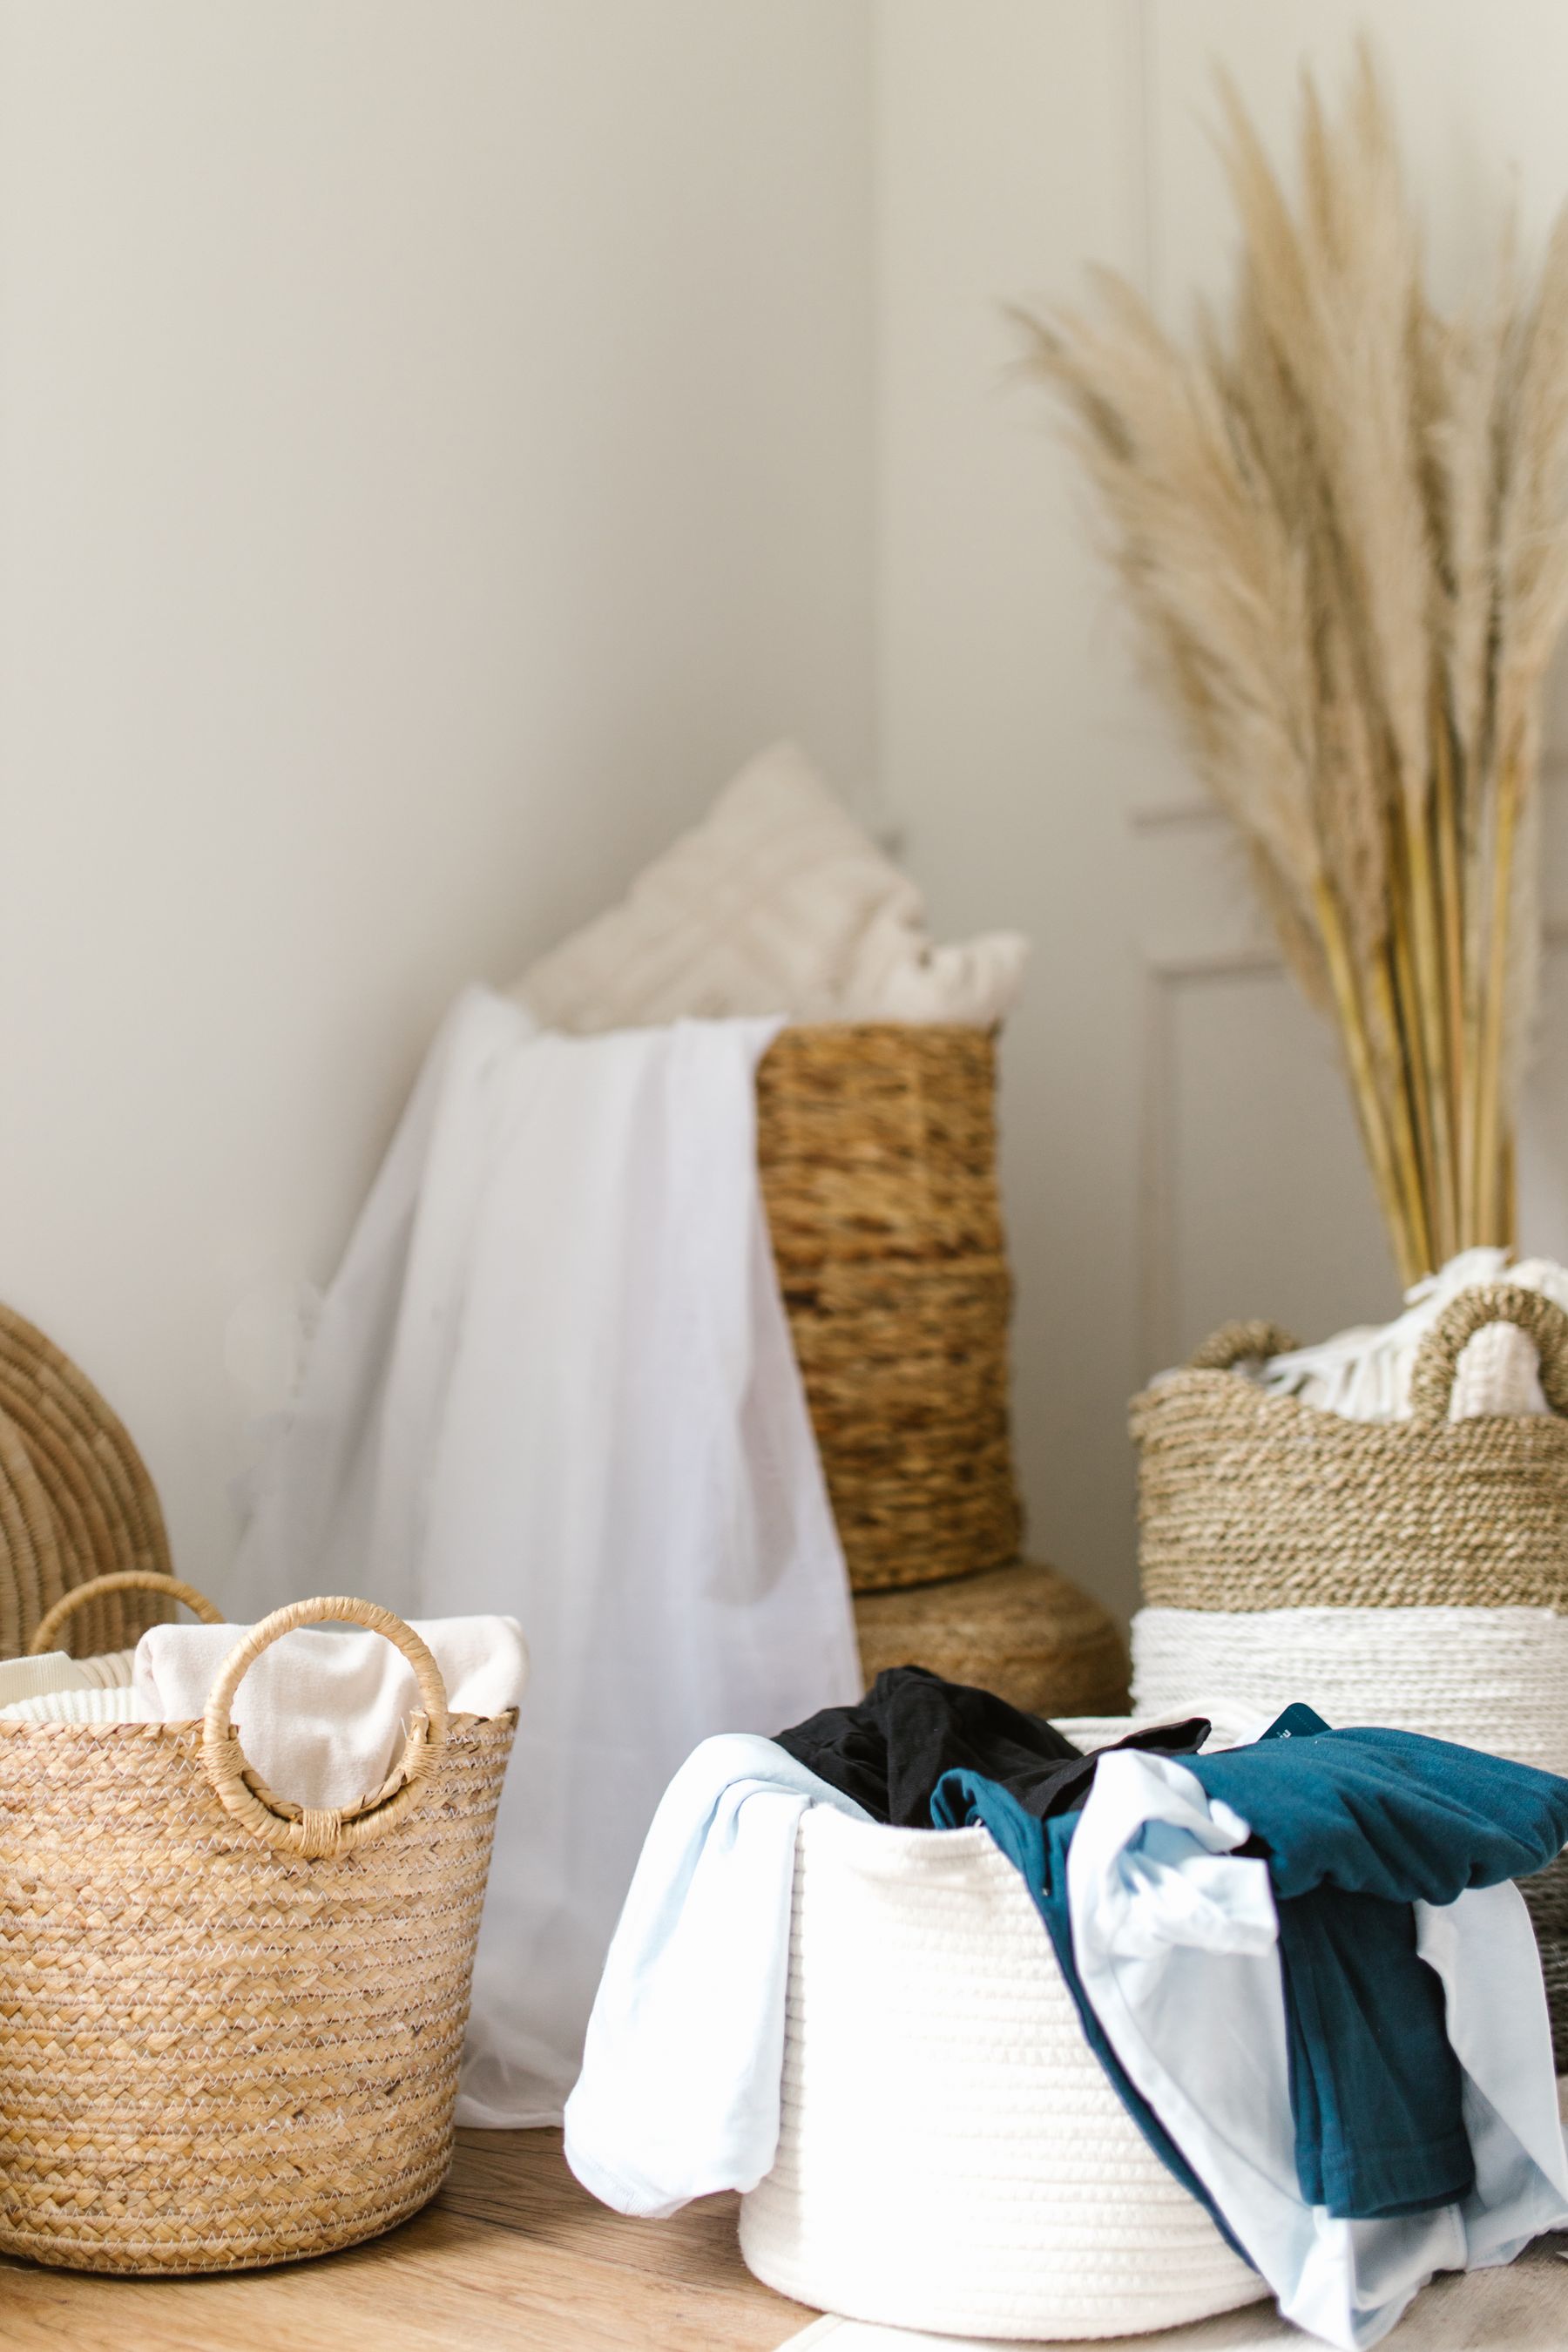
A precise fit keeps storage useful and visually quiet.
Record measurements in the space itself and check every obstruction. Interior dimensions often differ from the visible opening.
Width
Measure at the front, middle and back. Use the smallest number when choosing bins, dividers or shelf inserts.
Check door hinges and side rails.Depth
Measure from the inside front edge to the back wall without including handles or decorative trim.
Allow room for comfortable removal.Height
Account for the tallest item and any shelf above it. Leave enough clearance to lift the item out naturally.
Include lids and stacked contents.Access
Consider the opening angle, reach distance and whether an organizer must slide, rotate or lift out of the space.
Plan for the hand movement, not only the object.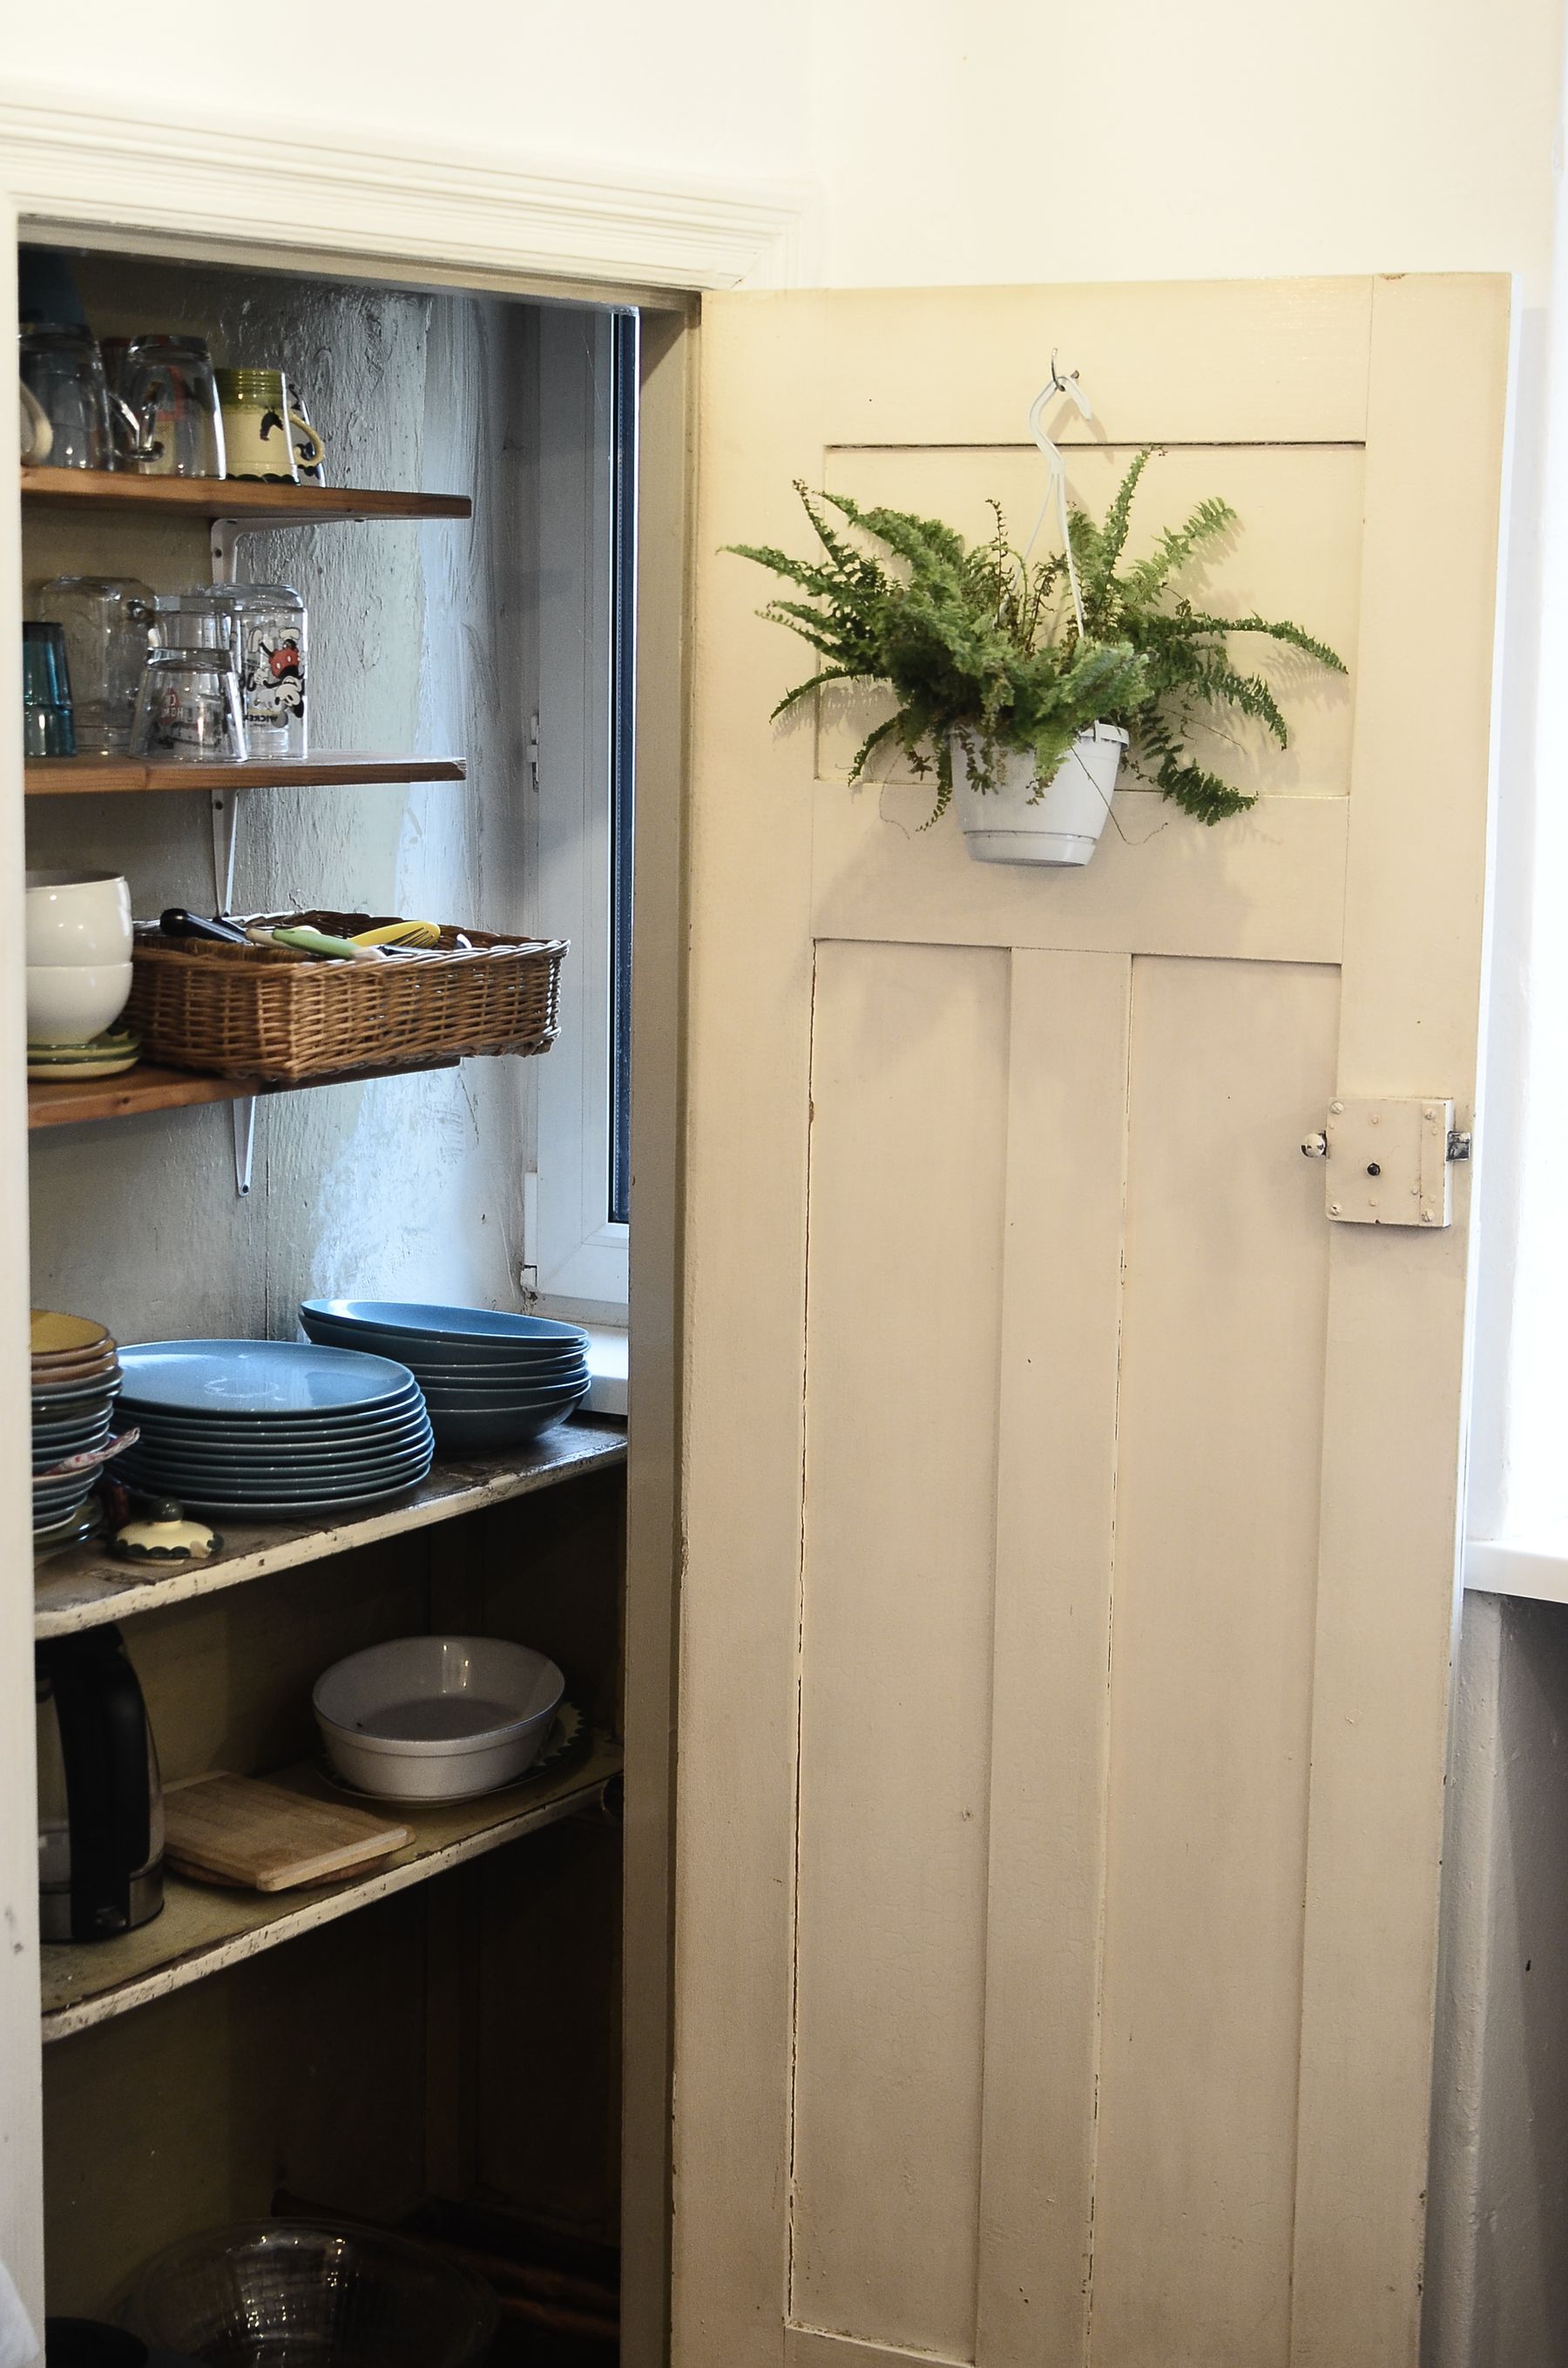
Create visual rhythm without hiding what you need.
Consistent containers can calm a shelf, but complete uniformity is not always practical. Combine open baskets for frequently handled items with clear or labeled storage for categories that are easy to forget.
- 1 Keep the front edge readable.A clear line at the front of each shelf makes the whole cabinet feel ordered and prevents items from disappearing behind one another.
- 2 Use risers where height is being wasted.Small tiered shelves can improve visibility for jars, cans and compact bathroom or utility supplies.
- 3 Leave one flexible zone.A modest open area gives temporary purchases, seasonal changes and larger items a place without disrupting the entire system.
Common questions before you begin.
Small planning decisions can prevent a storage solution from becoming another source of clutter.
Should every container be labeled?
How much empty space should remain?
What should be stored in clear containers?
How often should an organized zone be reviewed?
How should organizers be cleaned?
Thoughtful storage starts with the right fit for your space.
Our team can help with product questions, sizing considerations and choosing organization essentials for the rooms you use every day.